Connect Codex or Claude Code directly to LinkAI ModelHub
Choose your coding tool first, then follow the steps for your operating system.Configuration steps
Download Codex, get a LinkAI API Key, then write the Codex provider configuration.
Install Codex CLI
Linux uses Codex CLI. Open Terminal first, then copy and run this command.
npm install -g @openai/codex@latest
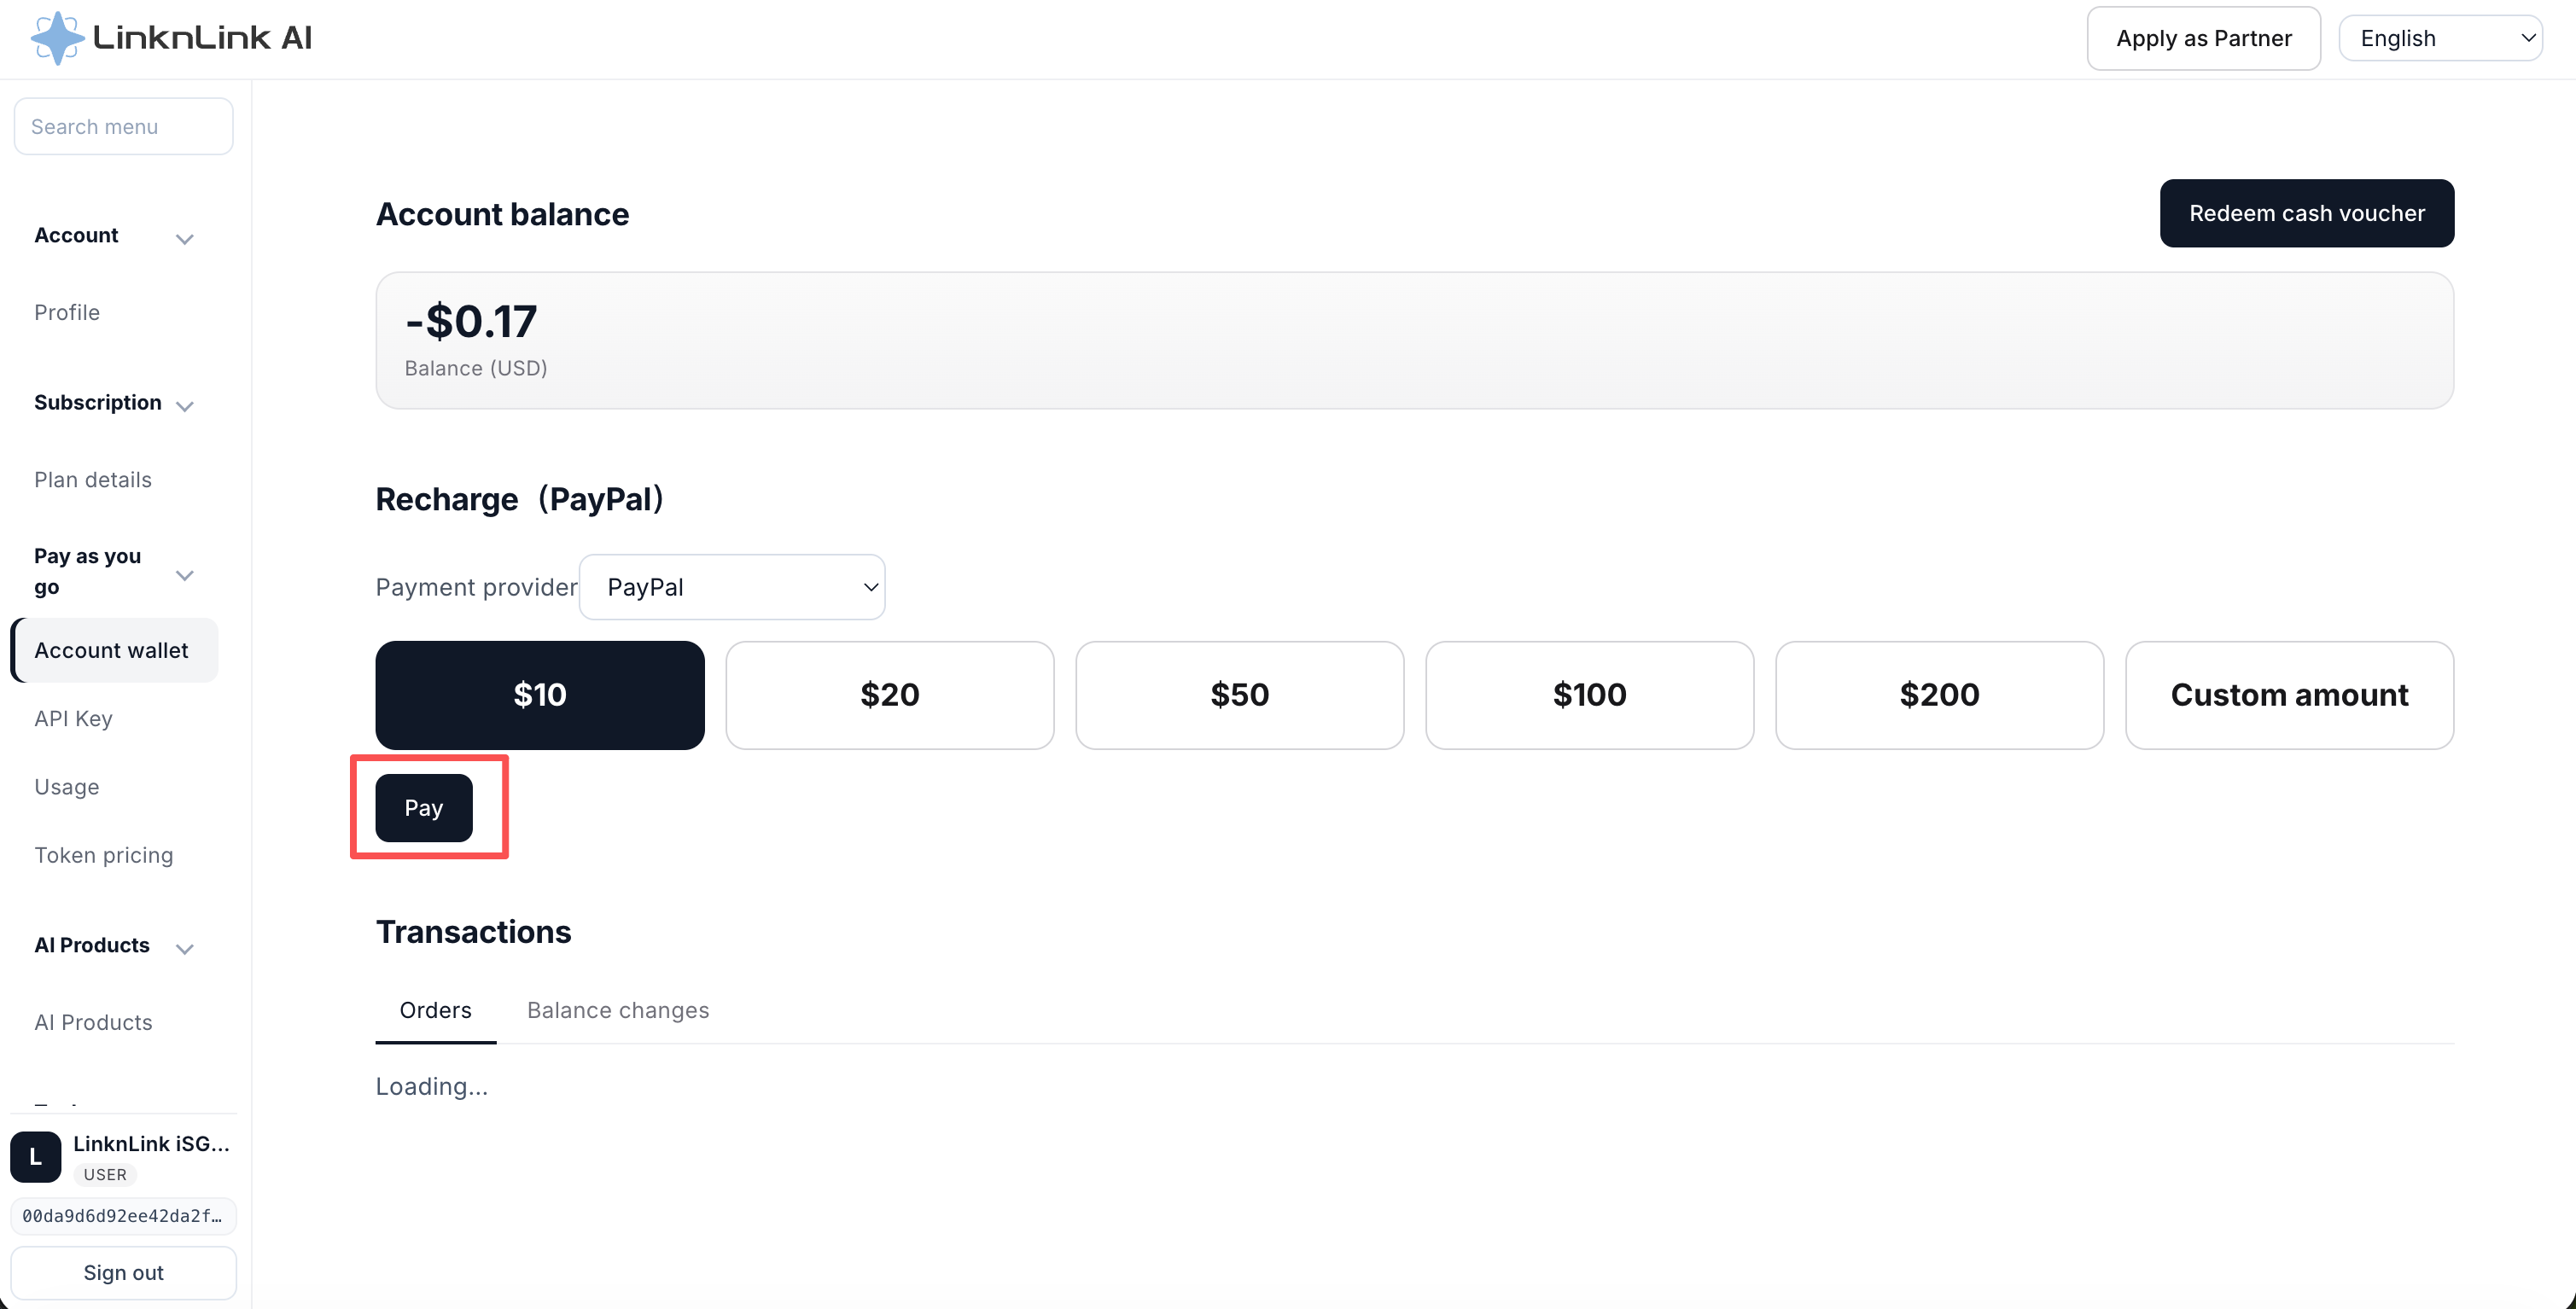
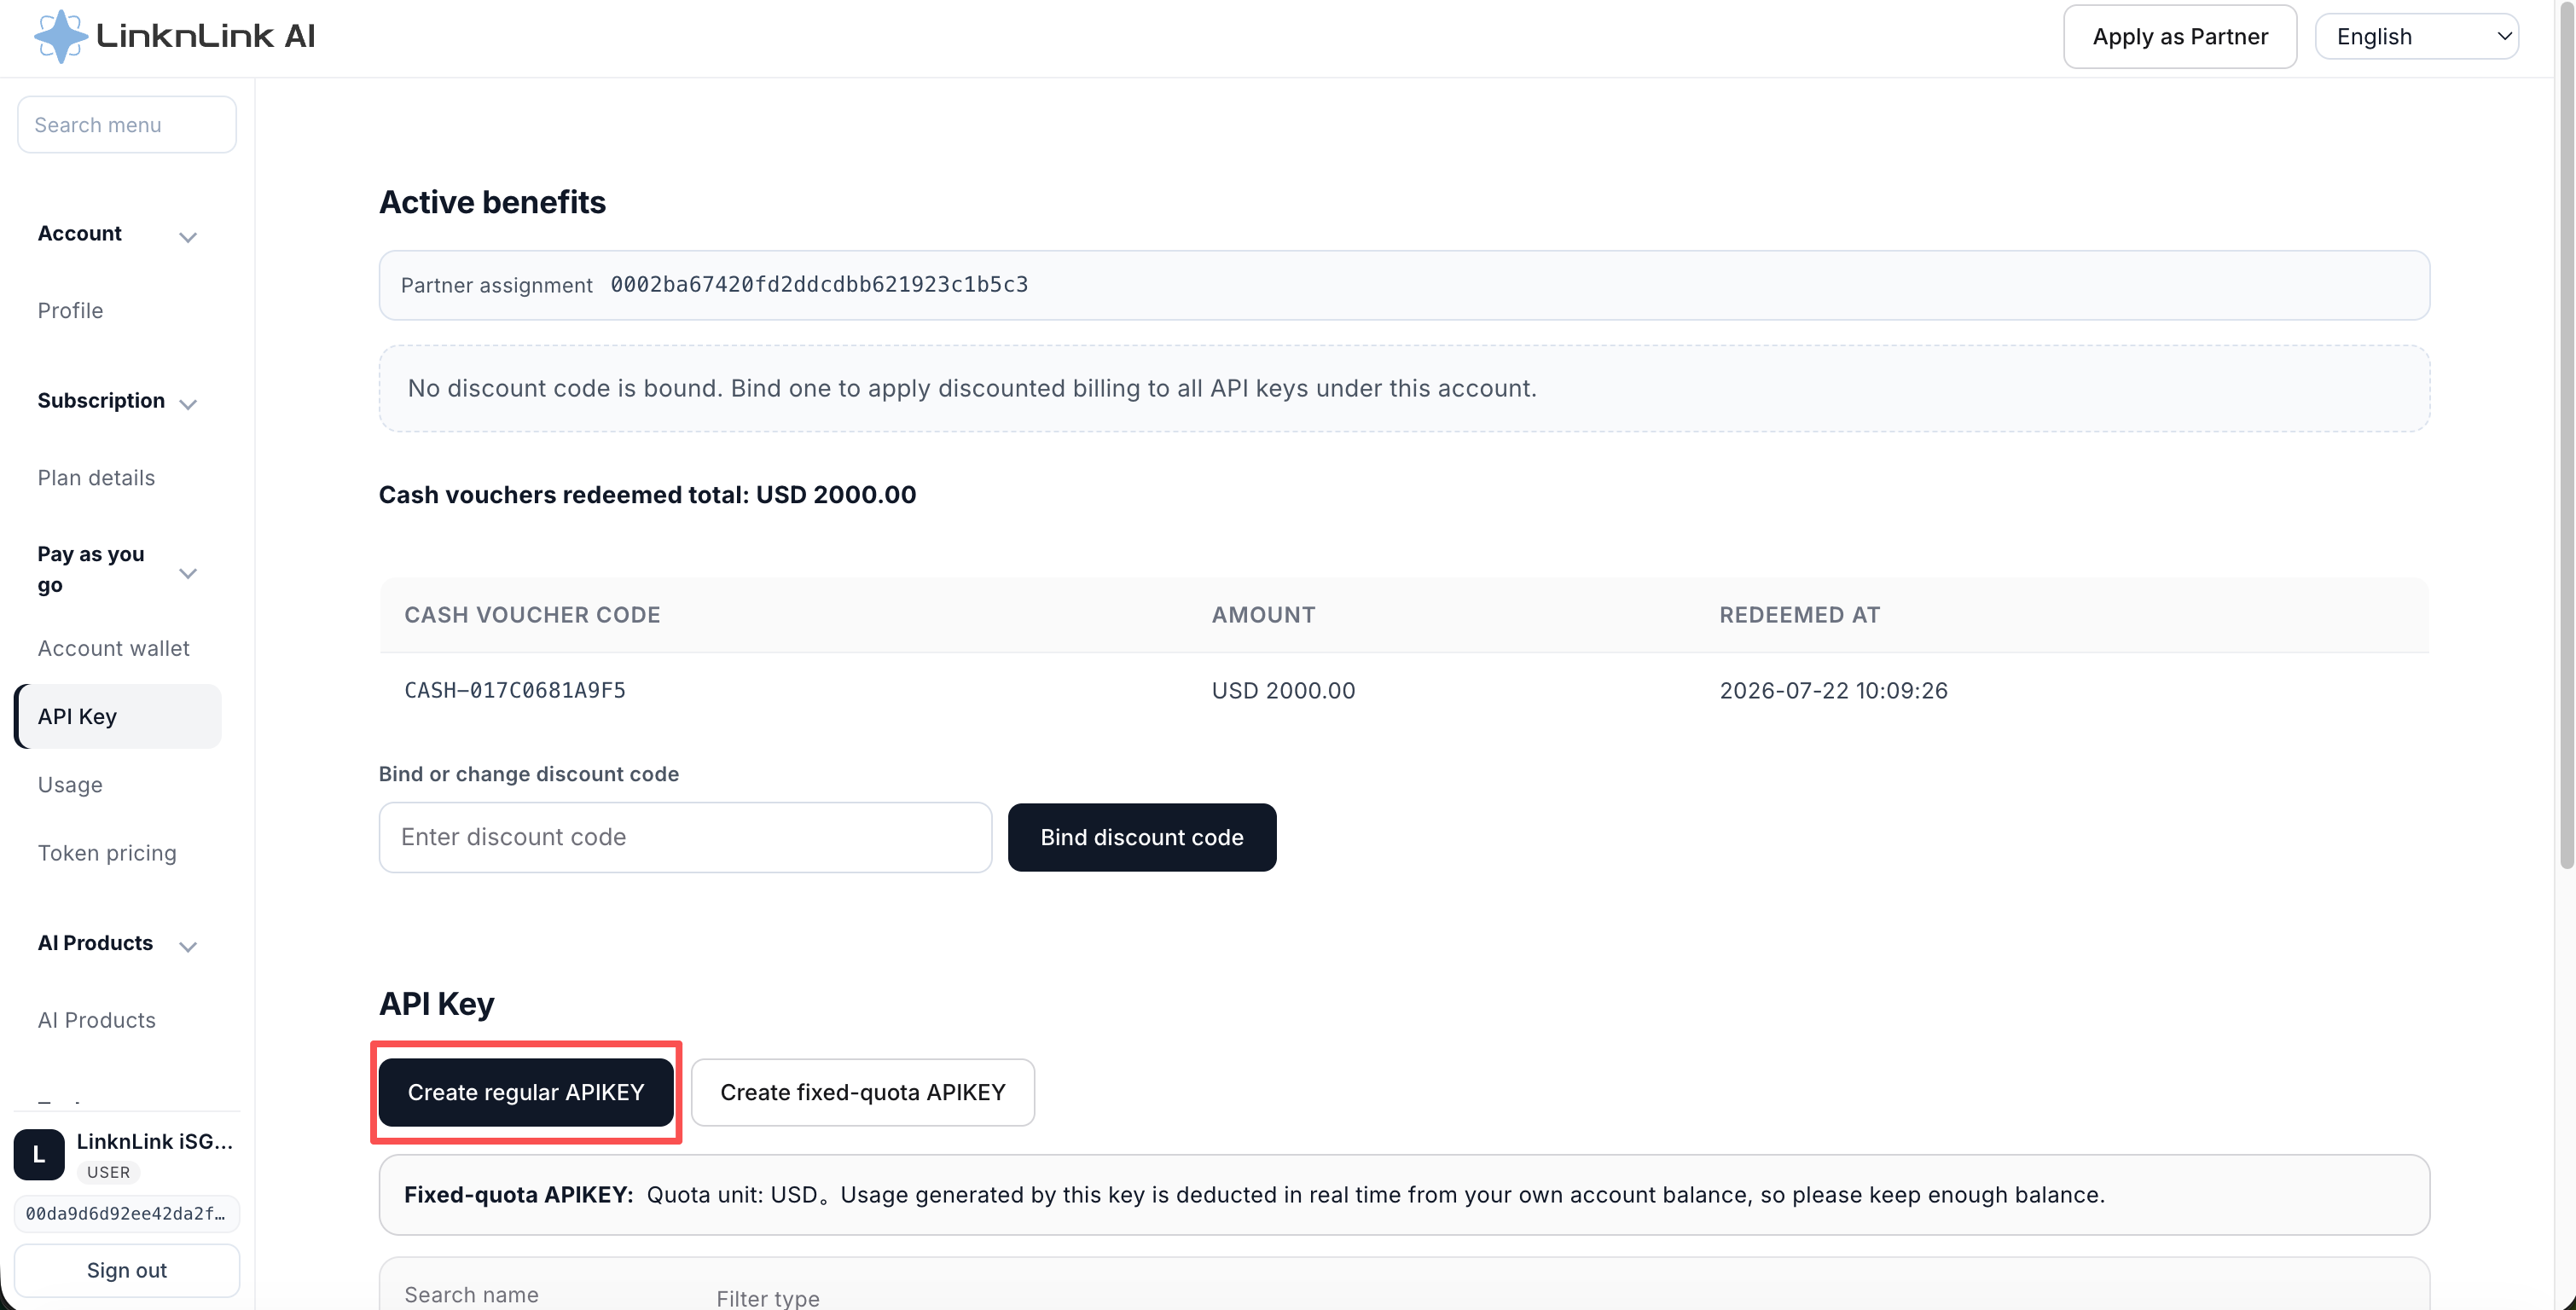
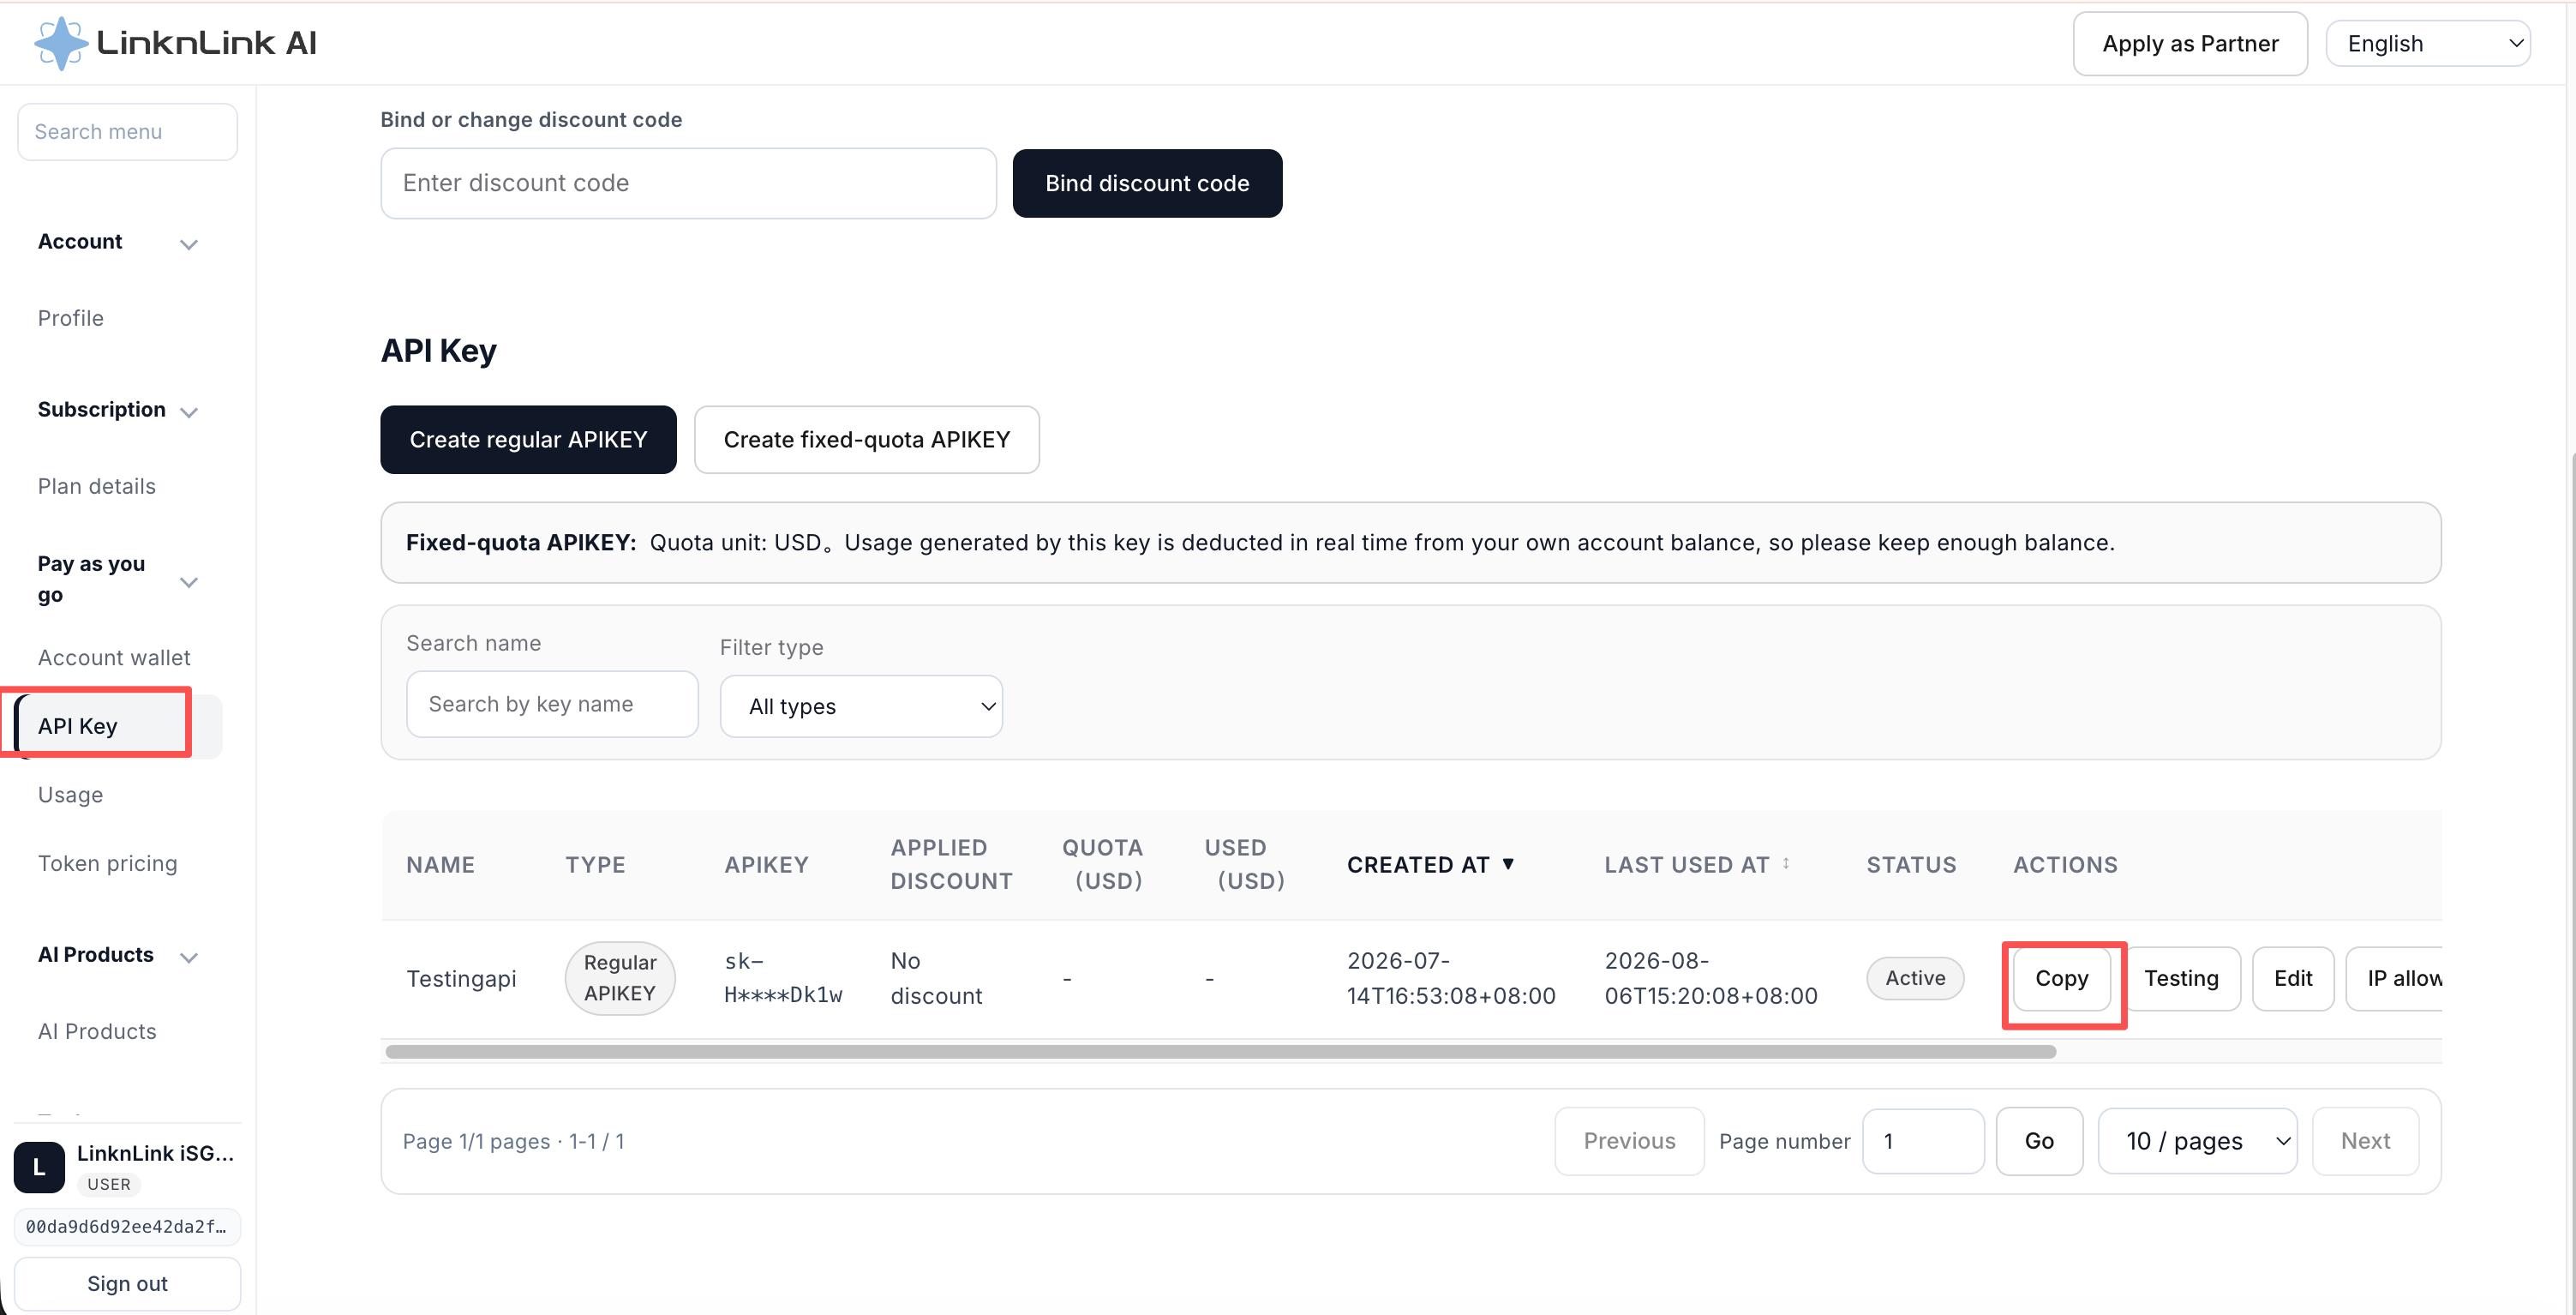
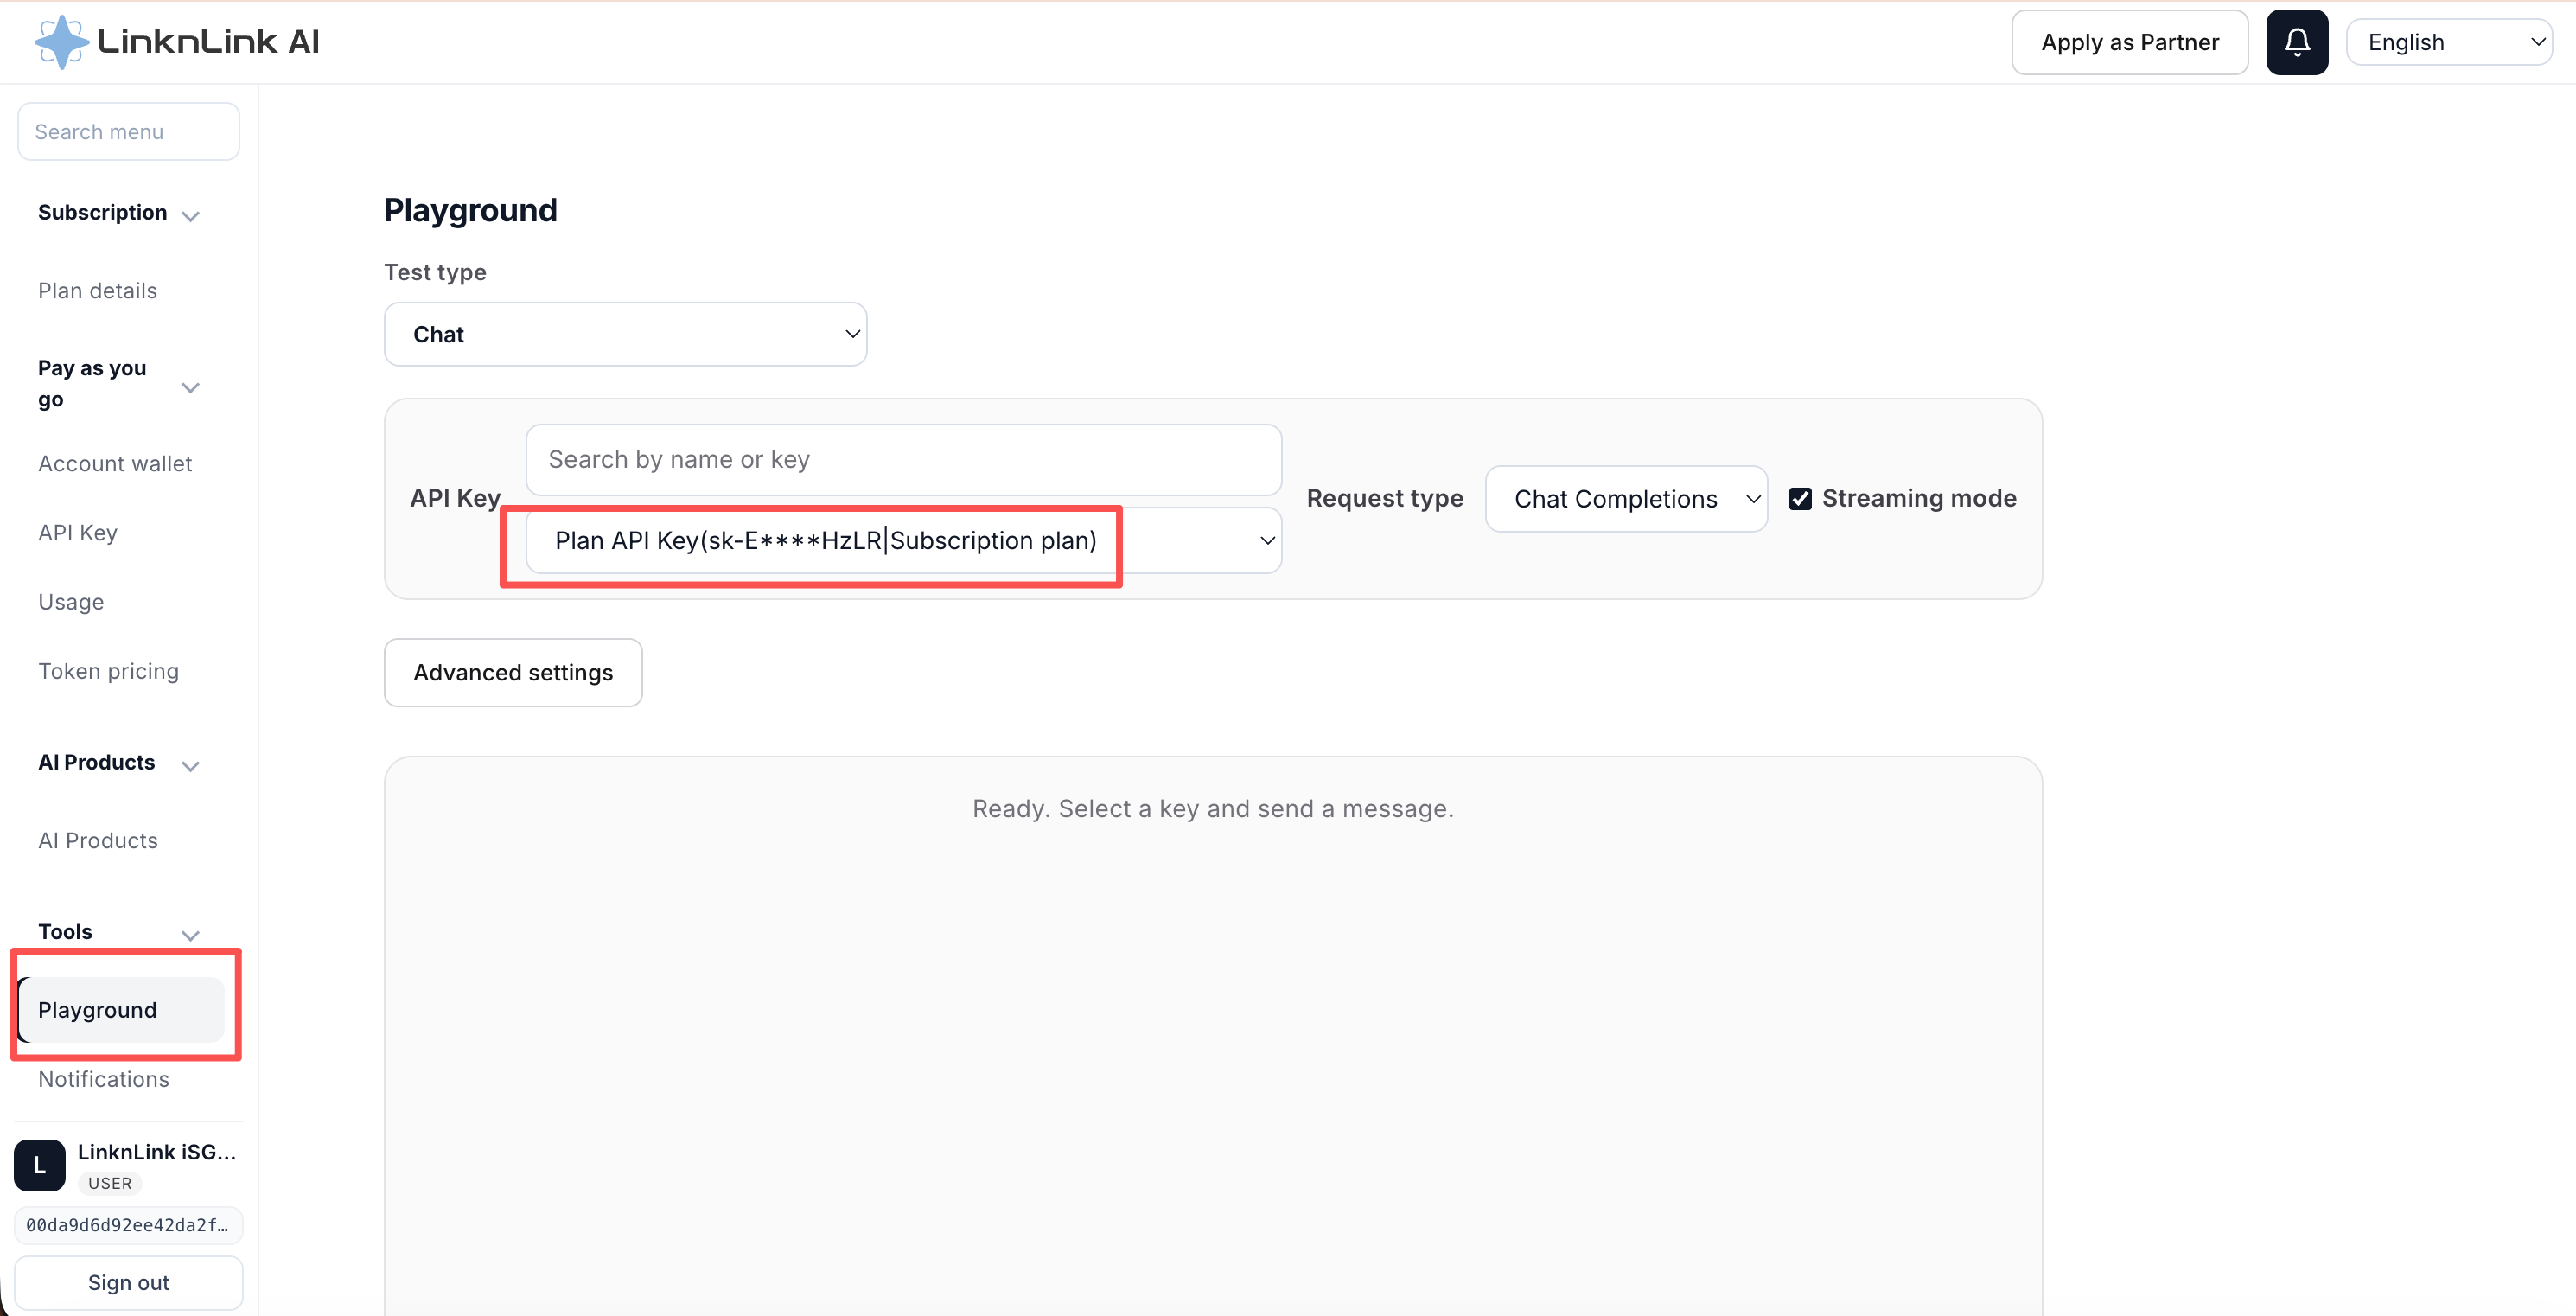
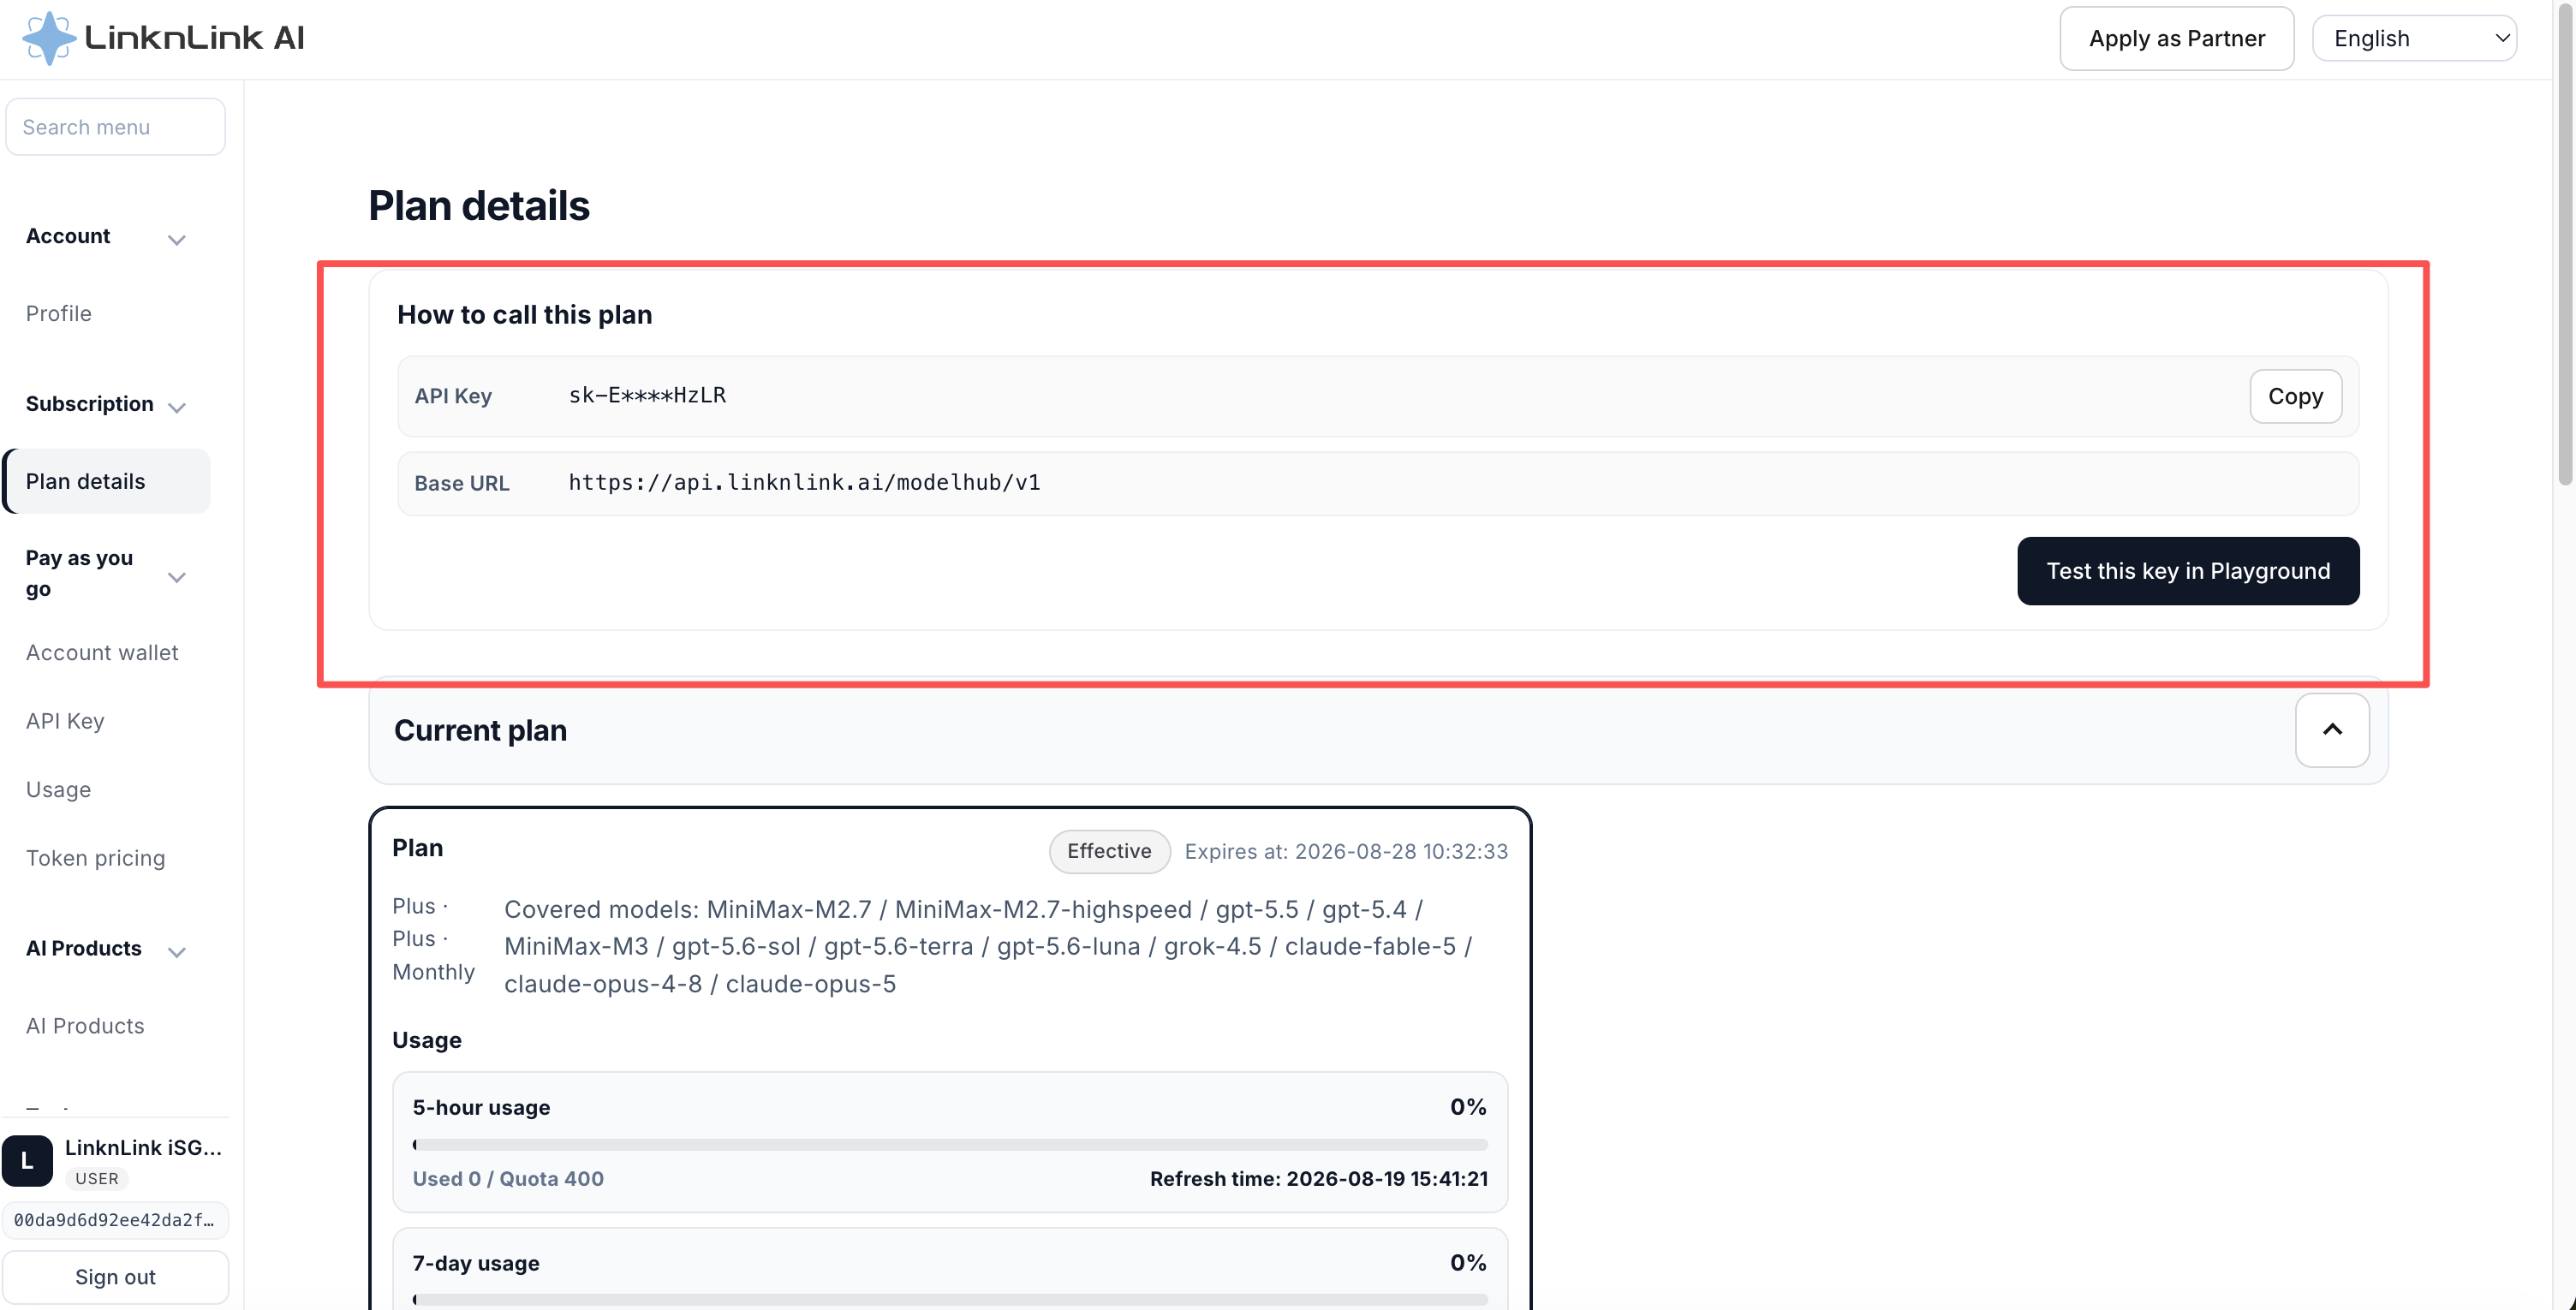
Get or reuse a LinkAI API Key
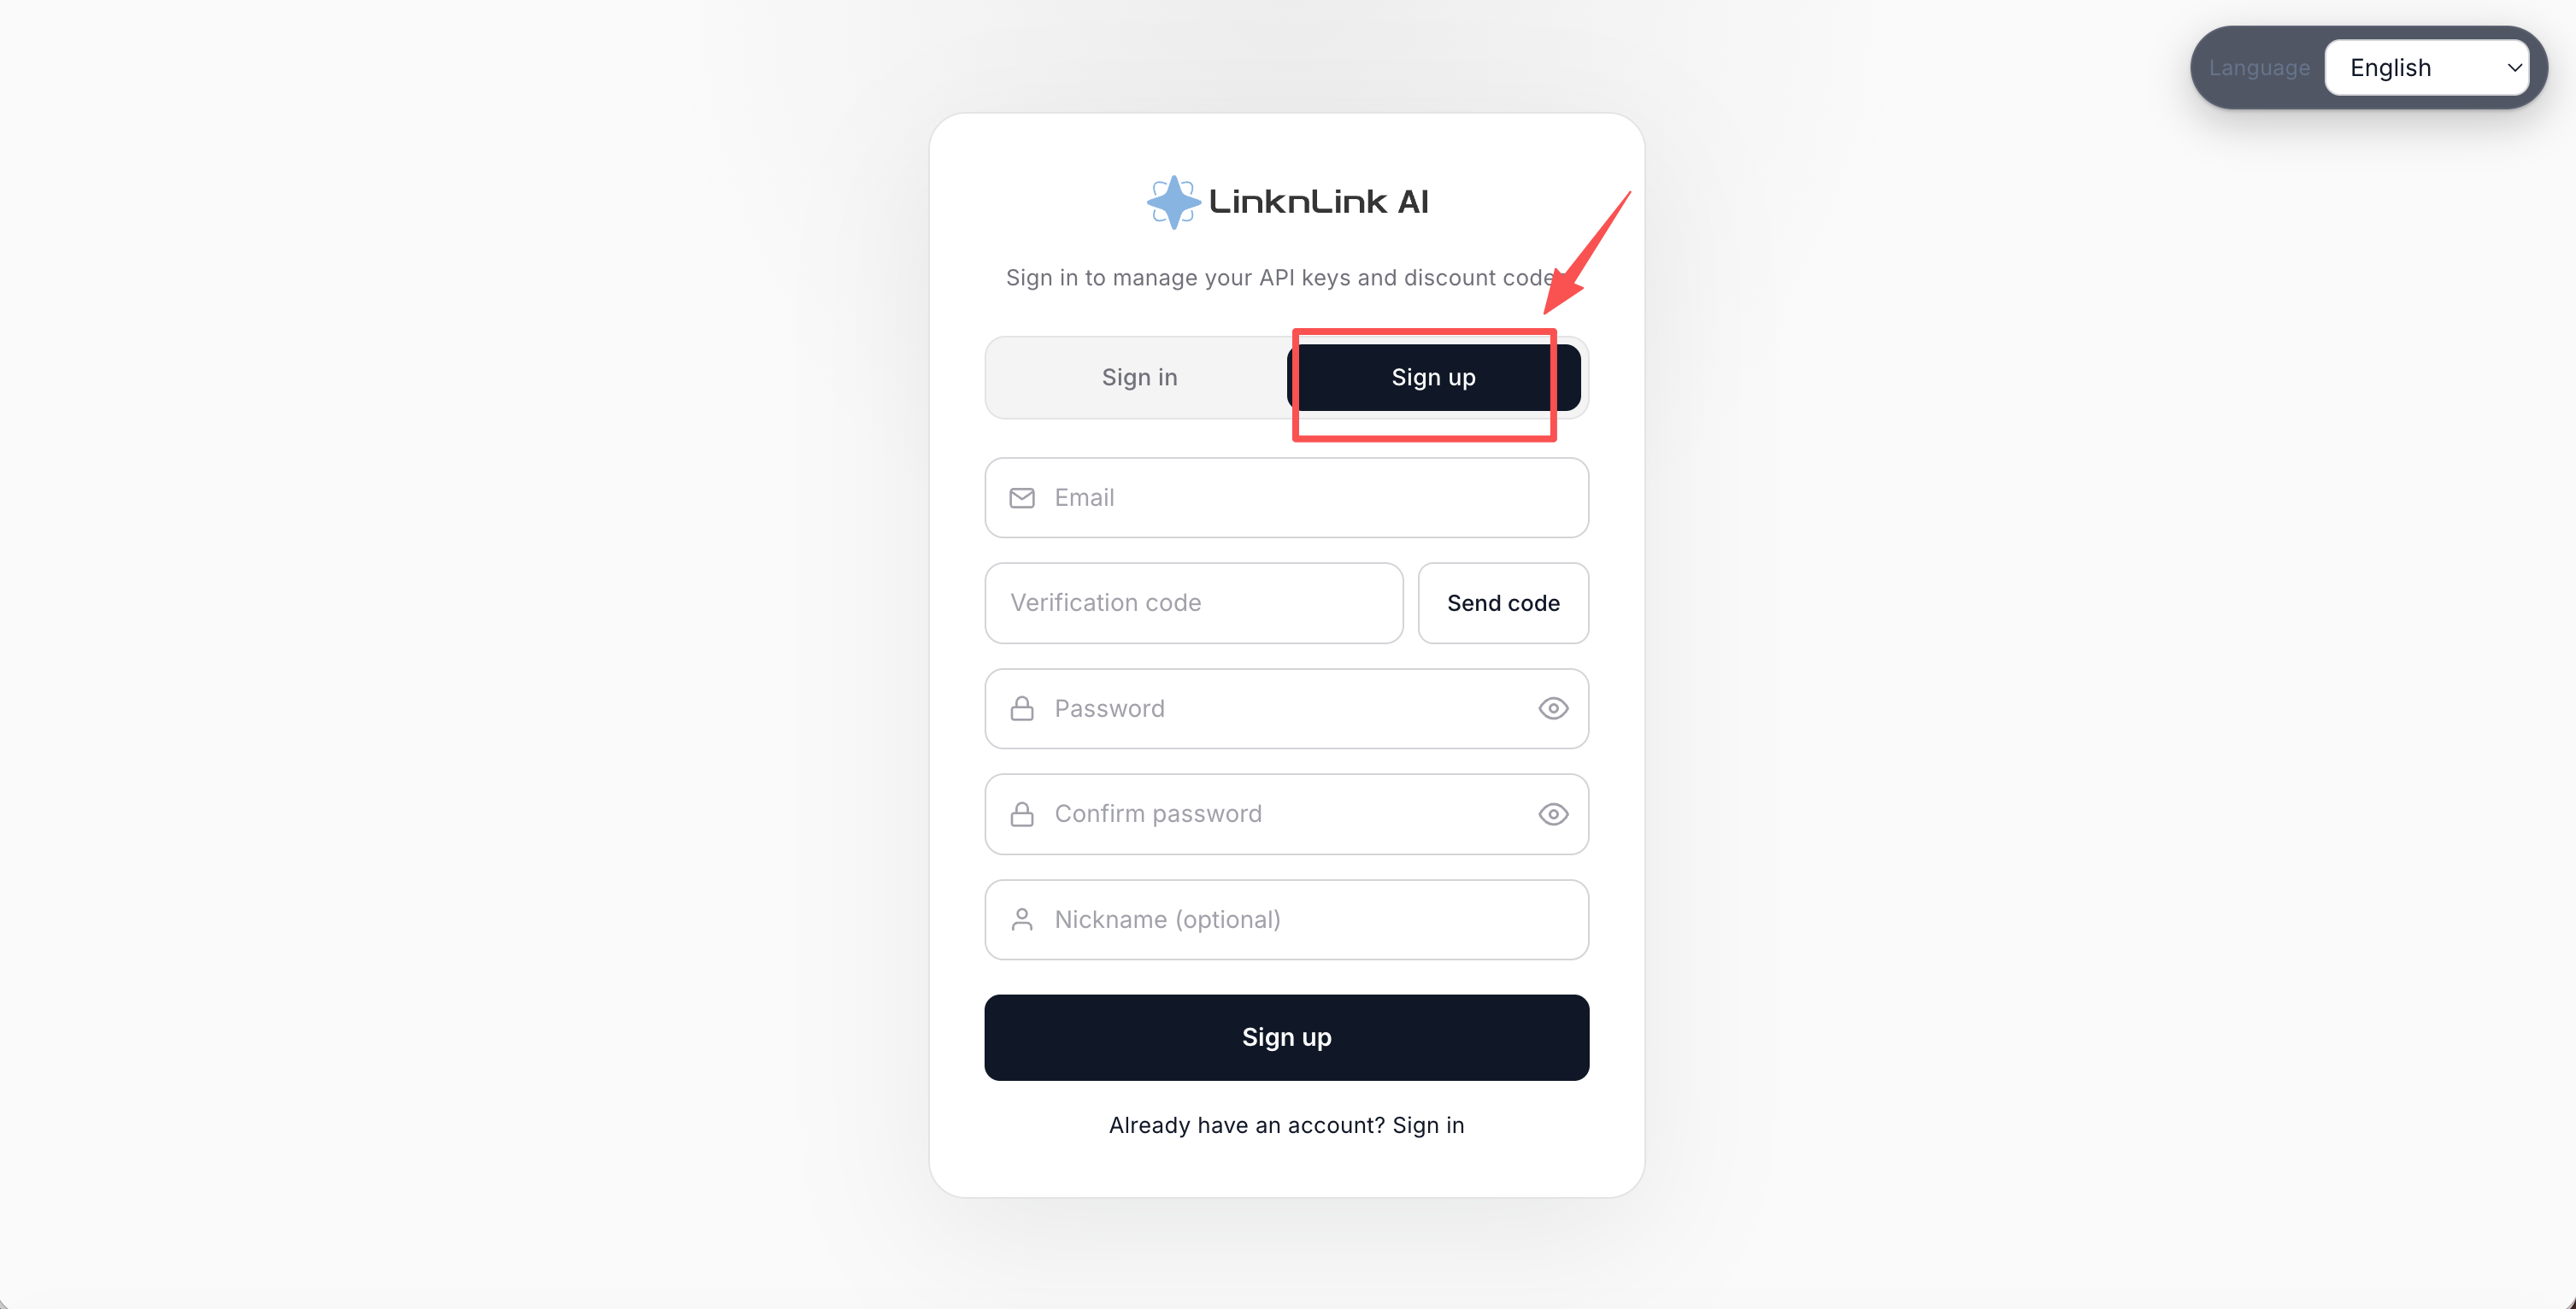
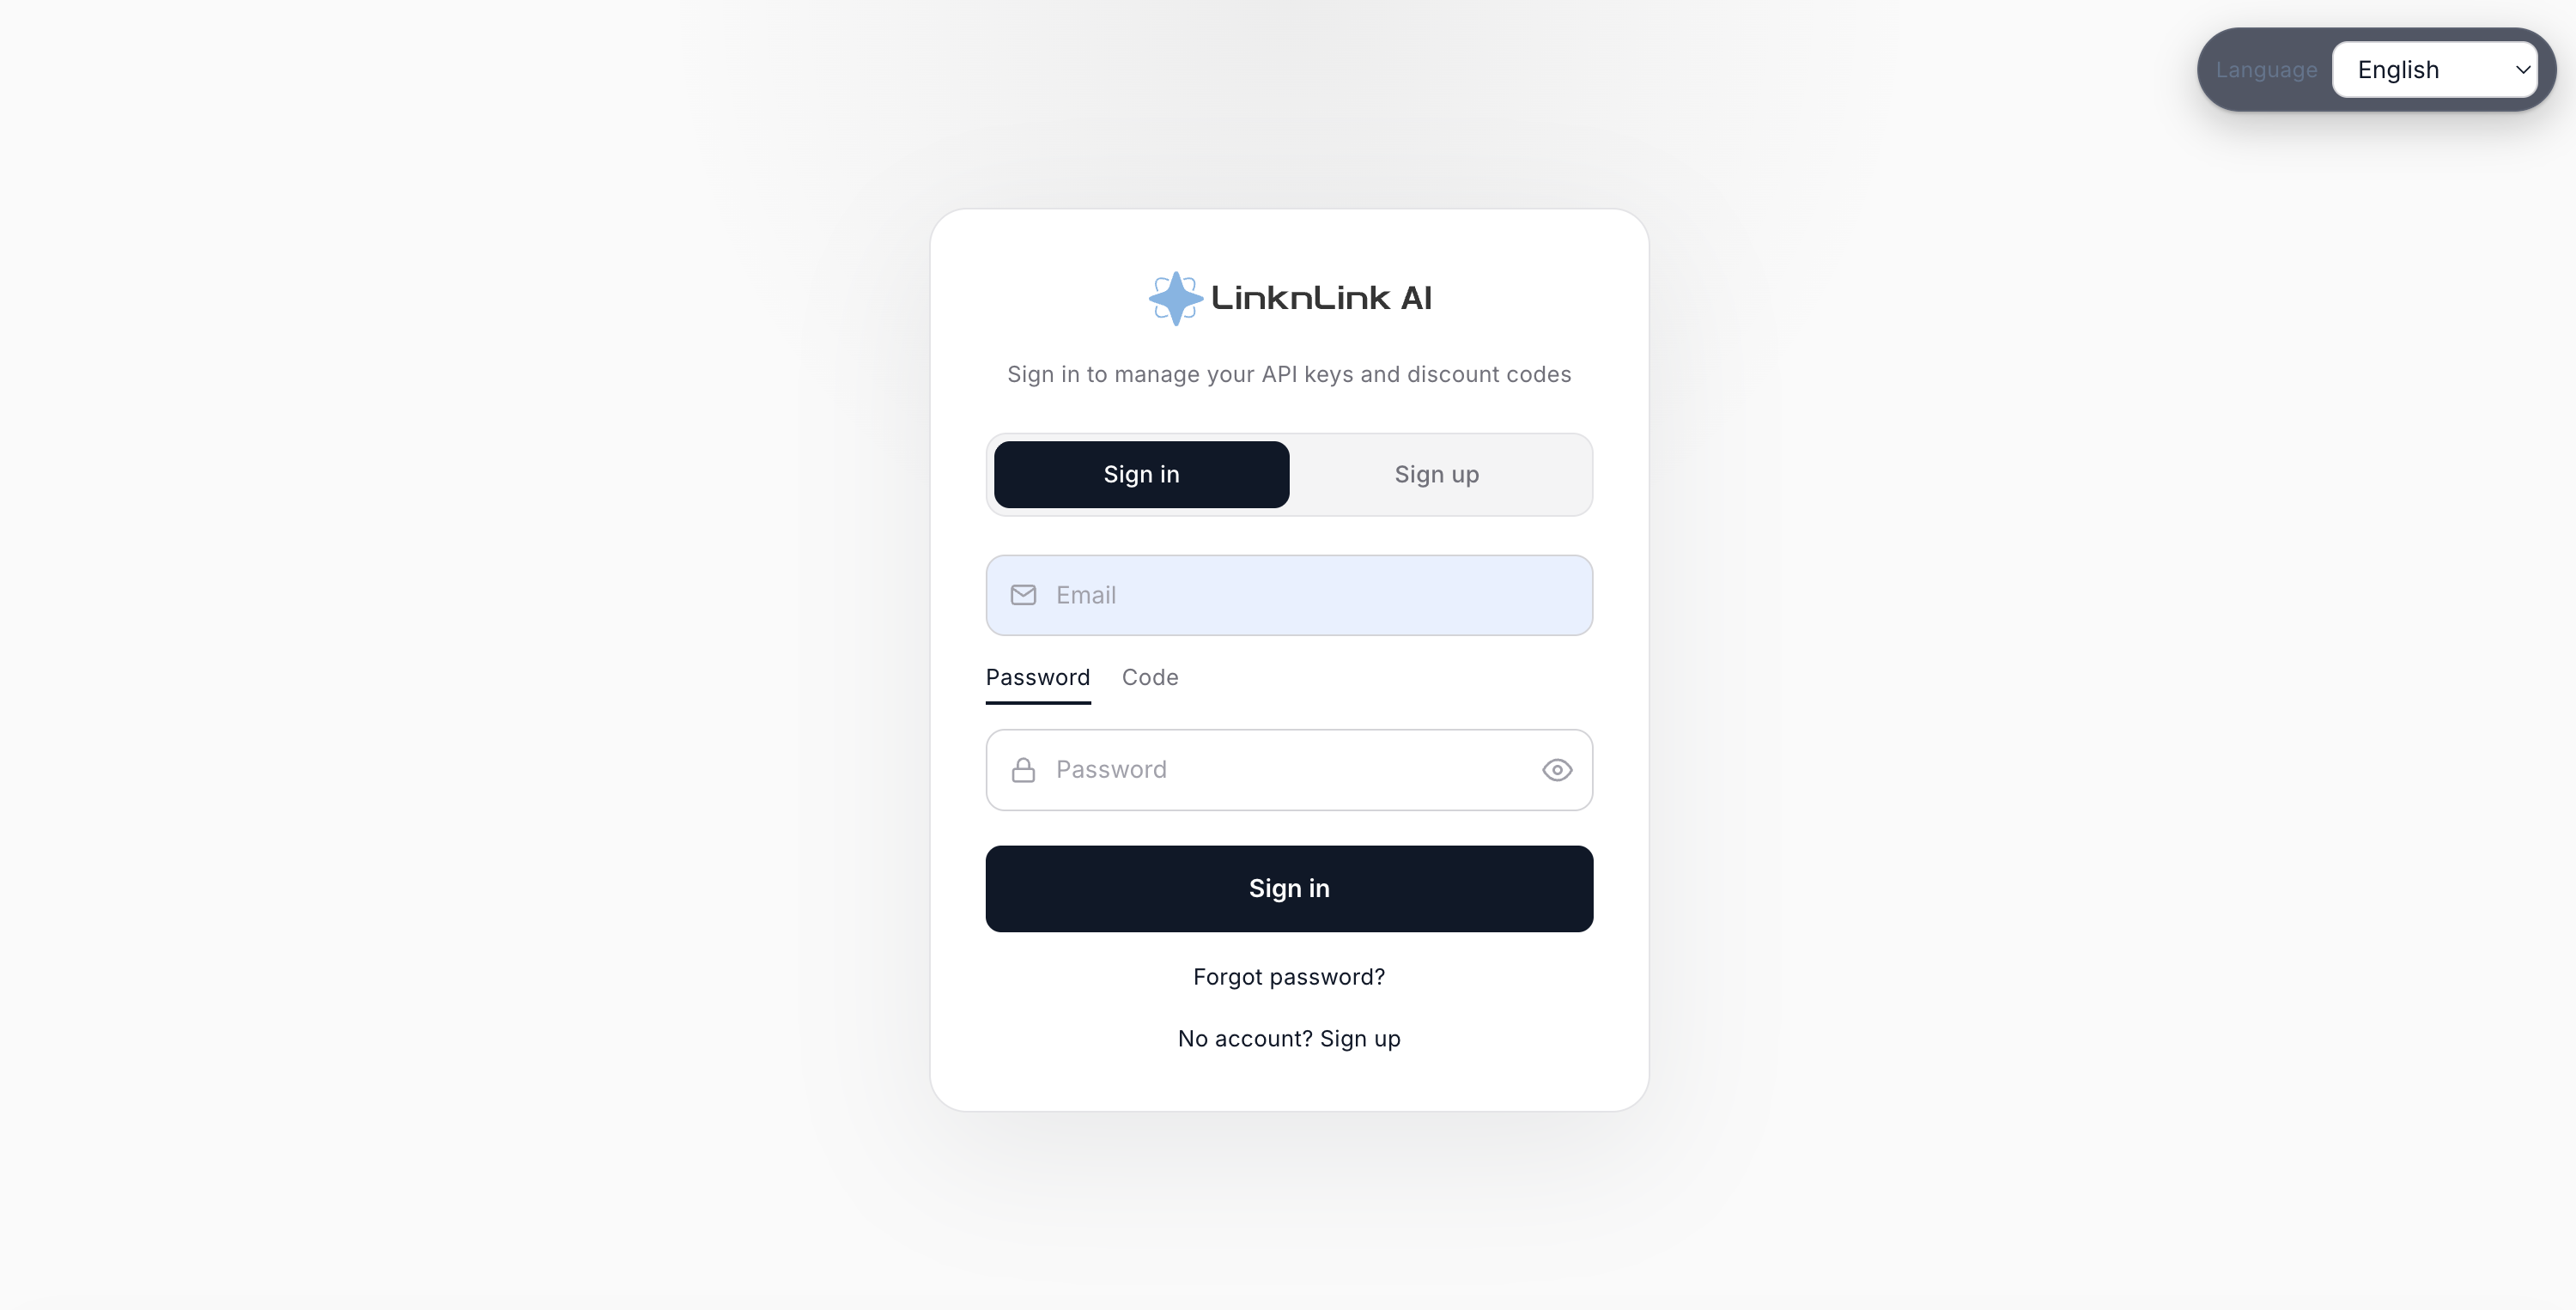
Sign in to LinknLink AI, create an API Key, and copy the value that starts with sk-. If you already have a valid LinkAI API Key, use that key directly.
Paste a key that starts with sk-. If valid, the commands below update automatically. The key is not saved.
API Key should start with sk-. The commands below still use the placeholder.
Keep the key private. The current command value is sk-replace-with-your-LinkAI-key, and the current model is gpt-5.6-sol.
Set the API key environment variable
Open Terminal first: press Command + Space, search Terminal, and press Enter. Then write the key to ~/.zshrc. For the Codex desktop app or VS Code launched from Finder, also write the macOS GUI environment variable.
echo 'export OPENAI_API_KEY="sk-replace-with-your-LinkAI-key"' >> ~/.zshrc
source ~/.zshrc
launchctl setenv OPENAI_API_KEY "sk-replace-with-your-LinkAI-key"
Back up and write the Codex config
You can copy and run this command directly. It backs up the current config first, then writes a minimal LinkAI config.
mkdir -p ~/.codex/backups
cp ~/.codex/config.toml ~/.codex/backups/config.toml.before-linkai.$(date +%Y%m%d%H%M%S) 2>/dev/null || true
cat > ~/.codex/config.toml <<'EOF'
model = "gpt-5.6-sol"
model_provider = "linkai"
[model_providers.linkai]
name = "LinkAI"
base_url = "https://api.linknlink.ai/modelhub/v1"
env_key = "OPENAI_API_KEY"
wire_api = "responses"
requires_openai_auth = false
EOF
New users can copy and run this command directly. If you already use MCP, plugins, or project trust settings in Codex, keep your existing file and manually add or update only model, model_provider, and the [model_providers.linkai] block shown above.
Restart and verify
Fully quit Codex before reopening it. On macOS, use Codex > Quit Codex, and check Activity Monitor if needed. If it still opens the login page, restart the computer, then open Codex and send reply only ok.
Set the API key environment variable
Open Terminal first from your application menu or with Ctrl + Alt + T if your desktop supports it. The command below makes the key available in the current terminal and writes it to ~/.bashrc.
export OPENAI_API_KEY="sk-replace-with-your-LinkAI-key"
echo 'export OPENAI_API_KEY="sk-replace-with-your-LinkAI-key"' >> ~/.bashrc
source ~/.bashrc
Back up and write the Codex config
You can copy and run this command directly. It backs up the current config first, then writes a minimal LinkAI config.
mkdir -p ~/.codex/backups
cp ~/.codex/config.toml ~/.codex/backups/config.toml.before-linkai.$(date +%Y%m%d%H%M%S) 2>/dev/null || true
cat > ~/.codex/config.toml <<'EOF'
model = "gpt-5.6-sol"
model_provider = "linkai"
[model_providers.linkai]
name = "LinkAI"
base_url = "https://api.linknlink.ai/modelhub/v1"
env_key = "OPENAI_API_KEY"
wire_api = "responses"
requires_openai_auth = false
EOF
New users can copy and run this command directly. If you already use MCP, plugins, or project trust settings in Codex, keep your existing file and manually add or update only model, model_provider, and the [model_providers.linkai] block shown above.
Restart and verify
Open a new terminal and verify the connection.
codex exec --skip-git-repo-check -m gpt-5.6-sol 'reply only ok'
Set the API key environment variable
Open Windows PowerShell first, then copy and run this command.
$env:OPENAI_API_KEY = "sk-replace-with-your-LinkAI-key"
[System.Environment]::SetEnvironmentVariable("OPENAI_API_KEY", "sk-replace-with-your-LinkAI-key", "User")
Write the Codex config
You can copy and run this command directly. It backs up the current config first, then writes a minimal LinkAI config.
$codexDir = Join-Path $HOME ".codex"
$backupDir = Join-Path $codexDir "backups"
$configPath = Join-Path $codexDir "config.toml"
New-Item -ItemType Directory -Force $backupDir | Out-Null
if (Test-Path $configPath) {
Copy-Item $configPath (Join-Path $backupDir "config.toml.before-linkai.$(Get-Date -Format yyyyMMddHHmmss)") -ErrorAction SilentlyContinue
}
$config = @"
model = "gpt-5.6-sol"
model_provider = "linkai"
[model_providers.linkai]
name = "LinkAI"
base_url = "https://api.linknlink.ai/modelhub/v1"
env_key = "OPENAI_API_KEY"
wire_api = "responses"
requires_openai_auth = false
"@
[System.IO.File]::WriteAllText($configPath, $config, [System.Text.UTF8Encoding]::new($false))
New users can copy and run this command directly. If you already use MCP, plugins, or project trust settings in Codex, keep your existing file and manually add or update only model, model_provider, and the [model_providers.linkai] block shown above.
Restart and verify
Fully quit Codex before reopening it. On Windows, closing the window may not exit the app: check the bottom-right system tray and Task Manager, and quit any remaining Codex process. If it still opens the login page, restart the computer, then open Codex and send reply only ok.
API Debug
Send a Responses API request and view the result.
Prepare a Responses API test
Get a LinkAI API Key, paste it below, then enter the prompt you want to send. The key is only used in this browser tab and is not saved.
API Key should start with sk-.
Copy and run the curl command
Open Terminal and copy this command. In PowerShell, use curl.exe if curl is treated as an alias.
curl -X POST 'https://api.linknlink.ai/modelhub/v1/responses' \
-H 'Content-Type: application/json' \
-H 'x-api-key: sk-replace-with-your-LinkAI-key' \
--data-raw '{"model":"gpt-5.6-sol","input":[{"role":"user","content":[{"type":"input_text","text":"reply only ok"}]}],"stream":false}'
View the response
The browser request is sent through the platform API endpoint. After it runs, the full response appears below.
No result yet.
Restore official Codex configuration
Use this when you stop using a LinkAI Key or want to return to the official ChatGPT / Codex account flow.
Quit and back up
osascript -e 'quit app "Codex"' 2>/dev/null || true
pkill -x Codex 2>/dev/null || true
mkdir -p ~/.codex/backups
cp ~/.codex/config.toml ~/.codex/backups/config.toml.before-restore-official.$(date +%Y%m%d%H%M%S)
Remove the LinkAI provider
cat > ~/.codex/config.toml <<'EOF'
# Official Codex uses your ChatGPT / Codex account.
# Leave this file without a LinkAI model_provider block.
EOF
launchctl unsetenv OPENAI_API_KEY
launchctl unsetenv OPENAI_API_KEY_EUMODELHUB
If the original config includes MCP, plugins, or project trust settings, do not overwrite the entire file. Manually remove model_provider = "linkai" and the [model_providers.linkai] block.
Back up and remove LinkAI config
mkdir -p ~/.codex/backups
cp ~/.codex/config.toml ~/.codex/backups/config.toml.before-restore-official.$(date +%Y%m%d%H%M%S)
cat > ~/.codex/config.toml <<'EOF'
# Official Codex uses your ChatGPT / Codex account.
# Leave this file without a LinkAI model_provider block.
EOF
If you keep custom MCP, plugins, or project trust settings, do not overwrite the entire file. Manually remove model_provider = "linkai" and the [model_providers.linkai] block.
Back up and restore config
New-Item -ItemType Directory -Force "$env:USERPROFILE\.codex\backups" | Out-Null
Copy-Item "$env:USERPROFILE\.codex\config.toml" "$env:USERPROFILE\.codex\backups\config.toml.before-restore-official.$(Get-Date -Format yyyyMMddHHmmss)"
@'
# Official Codex uses your ChatGPT / Codex account.
# Leave this file without a LinkAI model_provider block.
'@ | Set-Content -Encoding UTF8 "$env:USERPROFILE\.codex\config.toml"
[Environment]::SetEnvironmentVariable("OPENAI_API_KEY", $null, "User")
[Environment]::SetEnvironmentVariable("OPENAI_API_KEY_EUMODELHUB", $null, "User")
If you keep custom MCP, plugins, or project trust settings, do not overwrite the entire file. Manually remove model_provider = "linkai" and the [model_providers.linkai] block.
FAQ
Common checks for LinkAI direct connection and restoring the official config.
Where do I get a LinkAI API Key?
Sign in to LinknLink AI, create an API Key, and copy the value that starts with sk-. If you already have a valid LinkAI API Key, use it directly in the configuration steps.
Codex desktop app cannot read the API Key?
On macOS, desktop apps may not read ~/.zshrc. Run launchctl setenv OPENAI_API_KEY "sk-...", confirm with launchctl getenv OPENAI_API_KEY, then fully quit and reopen Codex.
Can I use the VS Code extension?
Yes. Install the Codex desktop app and verify Codex CLI first, then install the official ChatGPT / Codex extension in VS Code. If VS Code returns 401 while CLI works, fully quit and reopen VS Code. On macOS, set the key with launchctl setenv before restarting VS Code.
Will these commands overwrite my existing Codex config?
The minimal config commands replace config.toml after creating a backup. If you already use MCP, plugins, or project trust settings, manually merge the LinkAI provider block instead.
Seeing stream closed before response.completed?
This usually means the server-side Responses API stream did not send the final response.completed event. Confirm that the deployed service supports the Codex Responses streaming protocol.
Seeing model_not_found?
Confirm that the configured model matches your billing mode: API billing uses gpt-5.6-sol, and Token Plan uses linkai.
How do I confirm official config is restored?
On macOS and Windows, fully quit and reopen Codex. If the official login flow appears again, the LinkAI provider has been removed. On Linux, check that ~/.codex/config.toml no longer contains model_provider = "linkai" or [model_providers.linkai], then verify with Codex CLI.
Claude Code configuration steps
Install Claude Code and Claude Guard, then route Claude Code through LinkAI ModelHub.
Install Claude Code
Claude Code is available as a desktop app. Download and install it for macOS from the official site.
Get or reuse a LinkAI API Key
Sign in to LinknLink AI, create an API Key, and copy the value that starts with sk-. If you already have a valid LinkAI API Key, use that key directly. You will paste this key into Claude Guard later, so there is no need to enter it on this page.
Download Claude Guard
Claude Guard routes only Claude requests through a local gateway to LinkAI ModelHub, without changing your browser traffic or macOS system proxy. Choose Apple silicon for an M-series Mac, or Intel for a Mac with an Intel processor.
Configure ModelHub in Claude Guard
Open Claude Guard and go to the Gateway tab, then click Configure ModelHub. Choose Normal mode to use the fixed LinkAI cloud ModelHub address, paste your LinkAI API Key, and click Save.
Normal modehttps://api.linknlink.ai/modelhubLinkAI API Key
Set a non-China timezone and exit IP
Claude requires access from a supported region. Set your system timezone to a non-China country, then turn on your VPN so the exit IP is also in a non-China country.
Turn on gateway protection
Back on the Gateway tab, click Start protection. Only Claude requests will use the local gateway.
Confirm every check is green
Open the Status tab and confirm that every item under Environment and connection is green, including timezone, exit IP, outbound proxy, gateway forwarding, security check, and Claude configuration.
Launch Claude
In Claude Guard, click Restart Claude. Then open the Claude Code desktop app and start a conversation to verify the connection.
Install Claude Code
Claude Code is available as a desktop app. Download and install it for Windows from the official site.
Get or reuse a LinkAI API Key
Sign in to LinknLink AI, create an API Key, and copy the value that starts with sk-. If you already have a valid LinkAI API Key, use that key directly. You will paste this key into Claude Guard later, so there is no need to enter it on this page.
Download Claude Guard
Claude Guard routes only Claude requests through a local gateway to LinkAI ModelHub, without changing your browser traffic or Windows system proxy. Download and install Claude Guard for Windows.
Configure your LinkAI API Key
Open LinknLink Claude Guard. Under Claude status, click Configure next to API Key, paste the LinkAI API Key prepared in step 2, then click Save.
Check the timezone and exit IP
Use a non-China system timezone and make sure the public exit IP is outside both mainland China and Hong Kong. After changing the environment, click Refresh and continue when the top of the page shows Access conditions met.
Keep Normal mode
Under Connection information, click Connection settings. Keep Normal mode selected, then click Save.
Start Gateway forwarding and wait for a healthy connection
If Gateway forwarding is not enabled automatically, click Start forwarding. Claude Guard may perform a security check first; no action is required while it completes. Continue when WebSocket heartbeat shows Connected · Healthy.
Start or restart Claude Desktop
If Claude Desktop is not running, click Start. If it is already running, click Restart. When the status changes to Running, open Claude Desktop and start a conversation to verify the connection.